



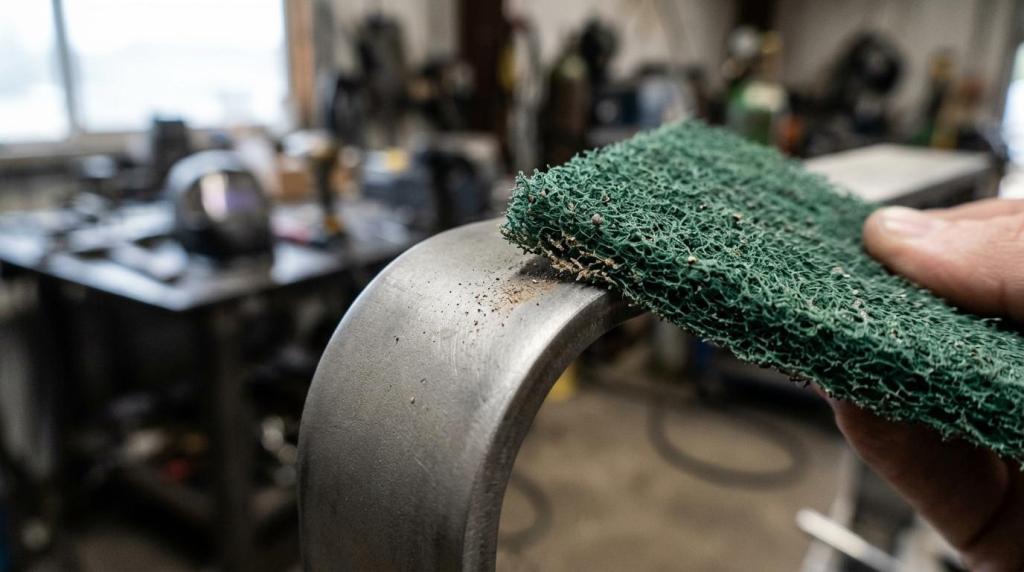
Surface prep has a way of looking simple until the finish goes wrong.
A coating fails early, a panel shows deep scratch lines under paint, or a cleaned metal part still carries rust in the corners. In many of those cases, the issue is not effort. It is tool selection. Choosing Scotch-Brite or sandpaper is less about brand preference and more about what the surface needs at that stage of work.
Both are abrasive products, and both are used every day in metalworking, automotive repair, fabrication, maintenance, and finishing. Yet they behave very differently. One is built around nonwoven surface conditioning. The other is built around traditional abrasive sanding. That difference matters when the goal is cleaning, coating removal, blending, paint prep, or controlled stock removal.
Surface prep goals should drive the abrasive choice
The first question is not, “Which one is better?” The better question is, “What exactly needs to happen to the surface?”
If a part needs aggressive leveling, scratch removal, or material removal with a defined grit progression, sandpaper is often the right answer. If the surface needs cleaning, blending, light corrosion removal, or a consistent finish across contours without cutting too deeply into the base material, Scotch-Brite often makes more sense.
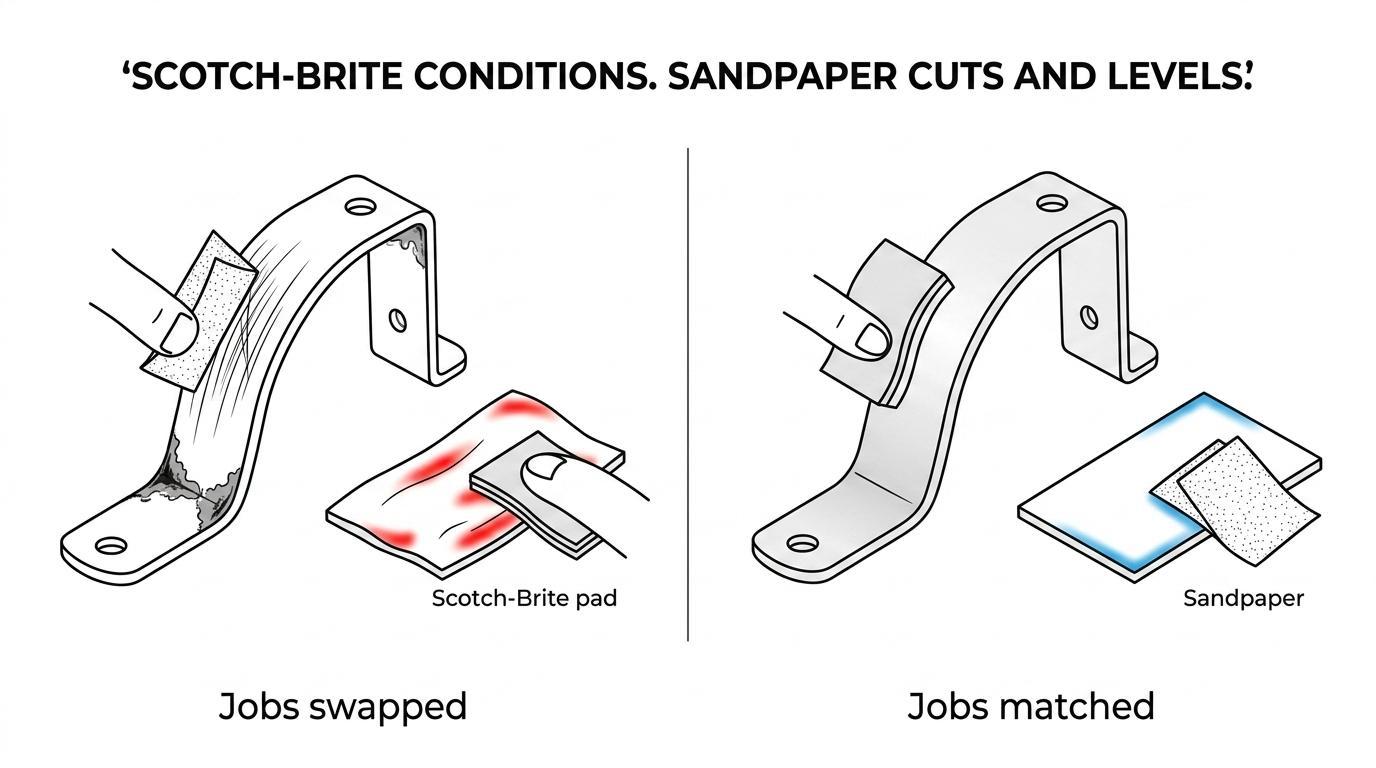
That distinction shows up clearly in how 3M describes the product families. Scotch-Brite products are commonly positioned as nonwoven abrasives for cleaning, blending, finishing, and light coating or corrosion removal. Sandpaper, by contrast, is described as a paper-backed abrasive sheet for sanding jobs, often with load-resistant construction to extend life.
A quick way to frame it is this:
Scotch-Brite for conditioning and blending
Sandpaper for sanding and leveling
Scotch-Brite for contours and irregular geometry
Sandpaper for grit-specific scratch patterns
What makes Scotch-Brite effective for surface conditioning
Scotch-Brite products are built around a nonwoven web with abrasive mineral distributed throughout the structure. That gives them a few useful traits for prep work: flexibility, conformability, and resistance to loading.
In practice, that means the abrasive can follow curves, edges, weld seams, corners, and stamped features more easily than a flat paper sheet. 3M notes that Scotch-Brite clean-and-finish materials are designed for cleaning, blending, finishing, and light coating and corrosion removal, and that the open-web construction resists loading and can be rinsed clean for repeated use. On contoured parts, that is a meaningful advantage.
This is also why Scotch-Brite is often chosen when preserving part geometry matters. A nonwoven abrasive can remove oxidation, paint residue, weld discoloration, or surface contamination while staying less aggressive on the underlying substrate than a comparable sanding approach. 3M positions surface conditioning discs as a way to achieve a uniform finish in fewer steps without damaging the base material, which is a strong signal about their intended use.
That does not make Scotch-Brite “light duty” by default. Products in the line can be very capable in paint prep and coating removal. Clean-and-strip discs, for example, are commonly used to remove paint, rust, and coatings quickly while avoiding heavy gouging or flattening of the workpiece.
After a few passes, the difference is usually visible. Sandpaper leaves a more defined scratch pattern. Scotch-Brite leaves a more blended, conditioned surface.
What makes sandpaper effective for traditional sanding
Sandpaper is still the better fit when the work demands controlled cut, measurable grit progression, and stronger material removal.
Paper-backed abrasive sheets use minerals like aluminum oxide on a backing designed to support sanding pressure. 3M describes products like Paper Sheet 346U as aluminum oxide abrasive on paper backing, available in multiple grades, with open-coat construction to help resist loading. Other paper products use bonded construction for durability and longer sheet life in demanding auto body sanding work.
This matters when a surface needs to be flattened, feathered, deburred, or prepared with a specific grit before primer, paint, or adhesive application. Sandpaper gives users a clearer way to step through coarse, medium, and fine abrasive stages. That is harder to do with nonwoven materials, which are often selected by grade and finish effect rather than traditional grit logic alone.
Sandpaper is also a stronger choice when there is a defined defect to remove. If the job is leveling filler, removing orange peel, knocking down sharp edges, or cutting through a heavier coating layer with precision, conventional sanding has a clear edge.
In short, sandpaper removes more material with more direct control over scratch depth.
Scotch-Brite vs sandpaper by common surface prep tasks
Many buyers are not choosing one family forever. They are choosing the right tool for the current step.
That is why side-by-side task comparison is more useful than blanket statements.
| Surface prep task | Scotch-Brite | Sandpaper |
|---|---|---|
| Cleaning oils, grime, oxidation | Strong fit | Possible, but often less efficient |
| Light rust or corrosion removal | Strong fit | Good when more cut is needed |
| Paint and coating removal | Good with clean-and-strip or conditioning products | Good when aggressive sanding is acceptable |
| Blending weld discoloration | Strong fit | Can leave sharper scratch lines |
| Smoothing filler or leveling surfaces | Limited | Strong fit |
| Working around contours and corners | Strong fit | Good, but less conformable |
| Creating a defined sanding scratch pattern | Limited | Strong fit |
| Preserving base material geometry | Strong fit | Requires more care |
| Final prep before coating on shaped parts | Strong fit | Often used earlier in the sequence |
This comparison is especially helpful in shops that handle mixed substrates and different finish standards in the same day.
When Scotch-Brite is the better choice for paint prep and metal cleaning
If the surface already has the shape you want, and the goal is to clean it, dull it uniformly, or remove contamination without cutting deep, Scotch-Brite is usually the safer choice.
That applies to painted metal before refinishing, stainless steel components that need blending, aluminum parts with oxidation, and fabricated assemblies with irregular features. A conformable nonwoven abrasive reaches edges and recesses without concentrating pressure the way a sandpaper fold often does.
Some especially good use cases include:
Surface conditioning before primer
Removing weld discoloration
Blending machine marks
Light corrosion removal
3M also describes Scotch-Brite 7447 PRO as an alternative to steel wool, wire brushes, sandpaper, and other nonwoven products for cleaning and finishing tasks. That says a lot about where it fits: the space between cleaning and finishing, where control matters more than raw cut rate.
For production teams, there is also a practical benefit in load resistance. Open-web nonwoven products tend to keep cutting longer in jobs where coatings, residue, or debris would clog the abrasive surface quickly.
When sandpaper is the better choice for sanding and defect removal
Sandpaper should lead when the job involves shape correction, defect removal, or a planned grit sequence.
That includes auto body filler work, featheredging paint edges, reducing heavy surface roughness, removing machining marks that must be cut down decisively, and preparing a surface to a known sanding profile before the next process step. If the specification calls for a certain grit, sandpaper is the natural route.
A simple rule works well here: if the surface needs to become flatter, thinner, or more uniformly cut, start with sandpaper.
The best fit often comes down to these factors:
Stock removal: Sandpaper removes material faster and more predictably.
Grit progression: Paper sheets make it easier to move from coarse to fine stages.
Defect correction: Deep scratches, filler edges, and uneven areas respond better to sanding.
Finish control: Sandpaper creates a more defined scratch pattern for downstream coating systems.
Many workflows use sandpaper first and Scotch-Brite second. That is a smart combination, not a compromise.
How material shape and geometry affect abrasive performance
Flat coupon tests can be misleading. Real parts have bends, flanges, stamped features, radii, holes, and changing pressure points.
On a flat steel panel, sandpaper may perform beautifully. On a formed bracket with recessed corners and curved edges, the same sheet may miss contamination in the low spots while cutting harder on the high points. Scotch-Brite often solves that problem because the nonwoven structure conforms more easily to the part.
This is one reason Scotch-Brite products are widely used for maintenance, repair, metal fabrication, and prep on parts where cosmetic consistency matters. The abrasive follows the surface instead of forcing the surface to match the abrasive.
That said, conformity is not always the top priority. On a panel that needs exact feathering or controlled sanding before paint, the backing and grit discipline of sandpaper may be the better tool.
A practical selection method for Scotch-Brite and sandpaper
When teams need to standardize purchasing or process steps, a short selection method helps reduce guesswork.
Define the task: cleaning, stripping, blending, finishing, or sanding.
Check the substrate: steel, aluminum, stainless, composite, painted surface, or filler.
Decide how much base material can be removed.
Match the finish target: conditioned surface or grit-specific scratch profile.
Test on an actual part geometry, not only a flat sample.
That last point is easy to skip and often expensive to ignore.
Common mistakes when switching between Scotch-Brite and sandpaper
The most common error is treating the two as direct substitutes. They overlap, but they are not interchangeable.
A second mistake is choosing sandpaper for a conditioning job just because it is familiar. That can produce a scratch pattern that takes extra time to refine later. The reverse mistake happens too: using Scotch-Brite where real stock removal is needed, then spending far too long trying to cut down a defect it was never meant to handle efficiently.
Other issues show up in production settings:
Too aggressive too soon: Deep sanding scratches can print through coatings.
Wrong tool for contours: Flat abrasives may miss recesses or alter edges.
Ignoring loading behavior: Coatings and debris can clog the abrasive and change the result.
Skipping the sequence: Conditioning cannot replace leveling when leveling is required.
A smart abrasive plan saves labor because it reduces rework, not just because one product cuts faster.
How buyers can think about product selection across operations
For procurement teams, maintenance managers, and production leads, the right question is often broader than a single SKU. It is about building a surface prep lineup that covers both conditioning and sanding.
A balanced abrasive program usually includes nonwoven options for cleaning, blending, and final prep, along with paper-backed abrasives for sanding and defect correction. That mix supports a wider range of parts, operators, and finish requirements without forcing one product to do every job.
For organizations sourcing 3M materials, it also helps to work with suppliers that can support product matching, converting needs, and fulfillment speed when the operation runs on tight schedules. Technical guidance matters most when the line between “clean enough” and “paint-ready” has real quality costs attached to it.
When the surface needs a uniform, conditioned finish with less risk to the substrate, Scotch-Brite is often the right call. When the work calls for grit-based sanding and stronger cut, sandpaper earns its place. Many of the best prep processes use both, each at the stage where it performs best.